
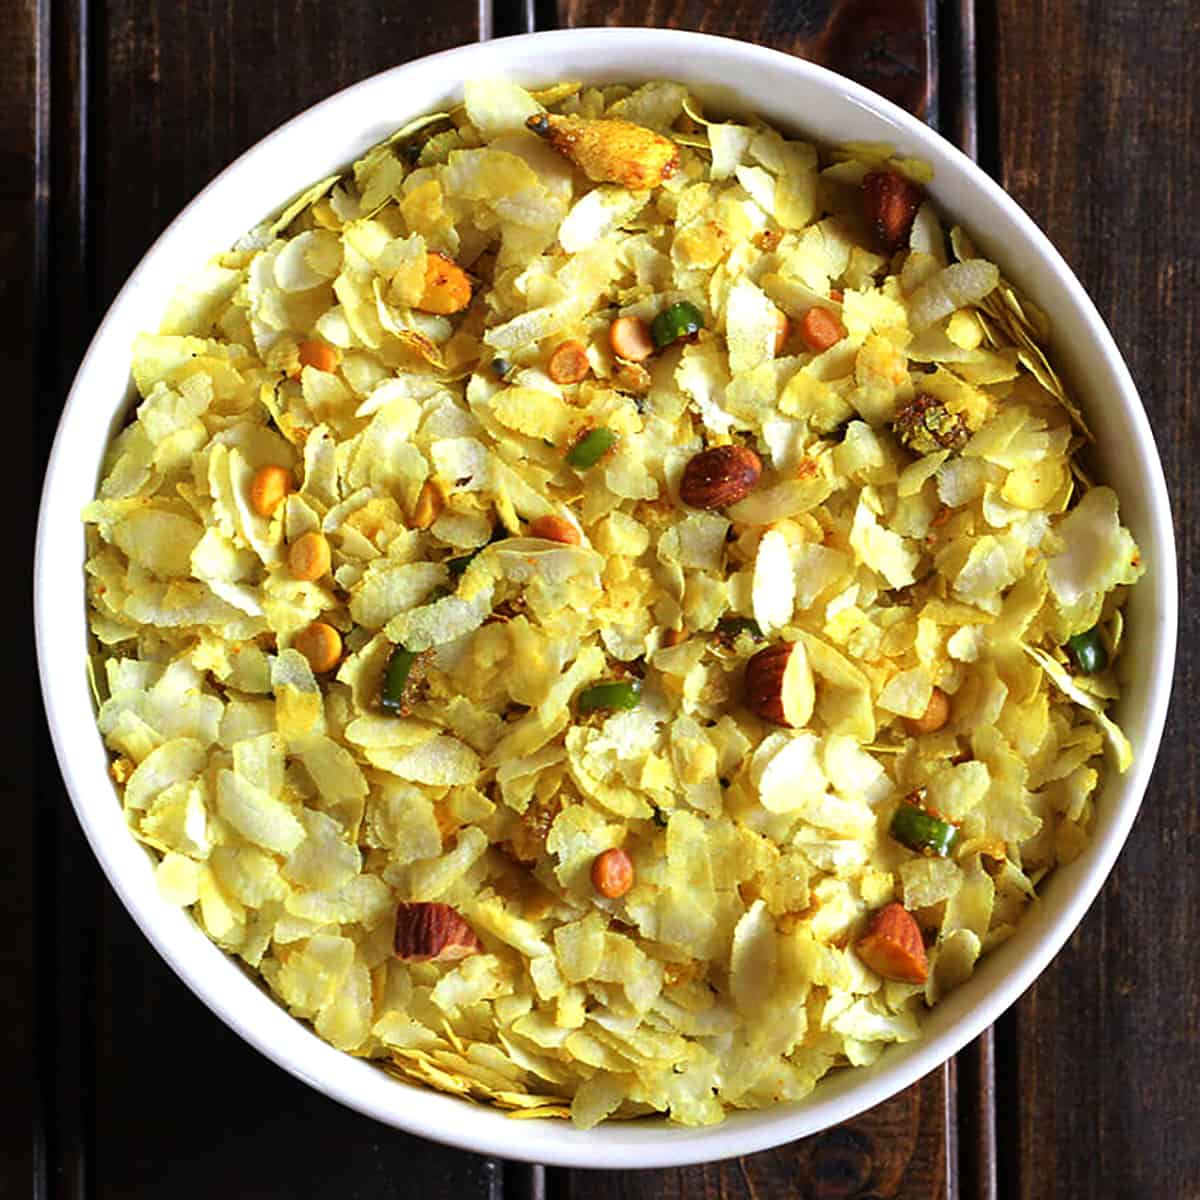
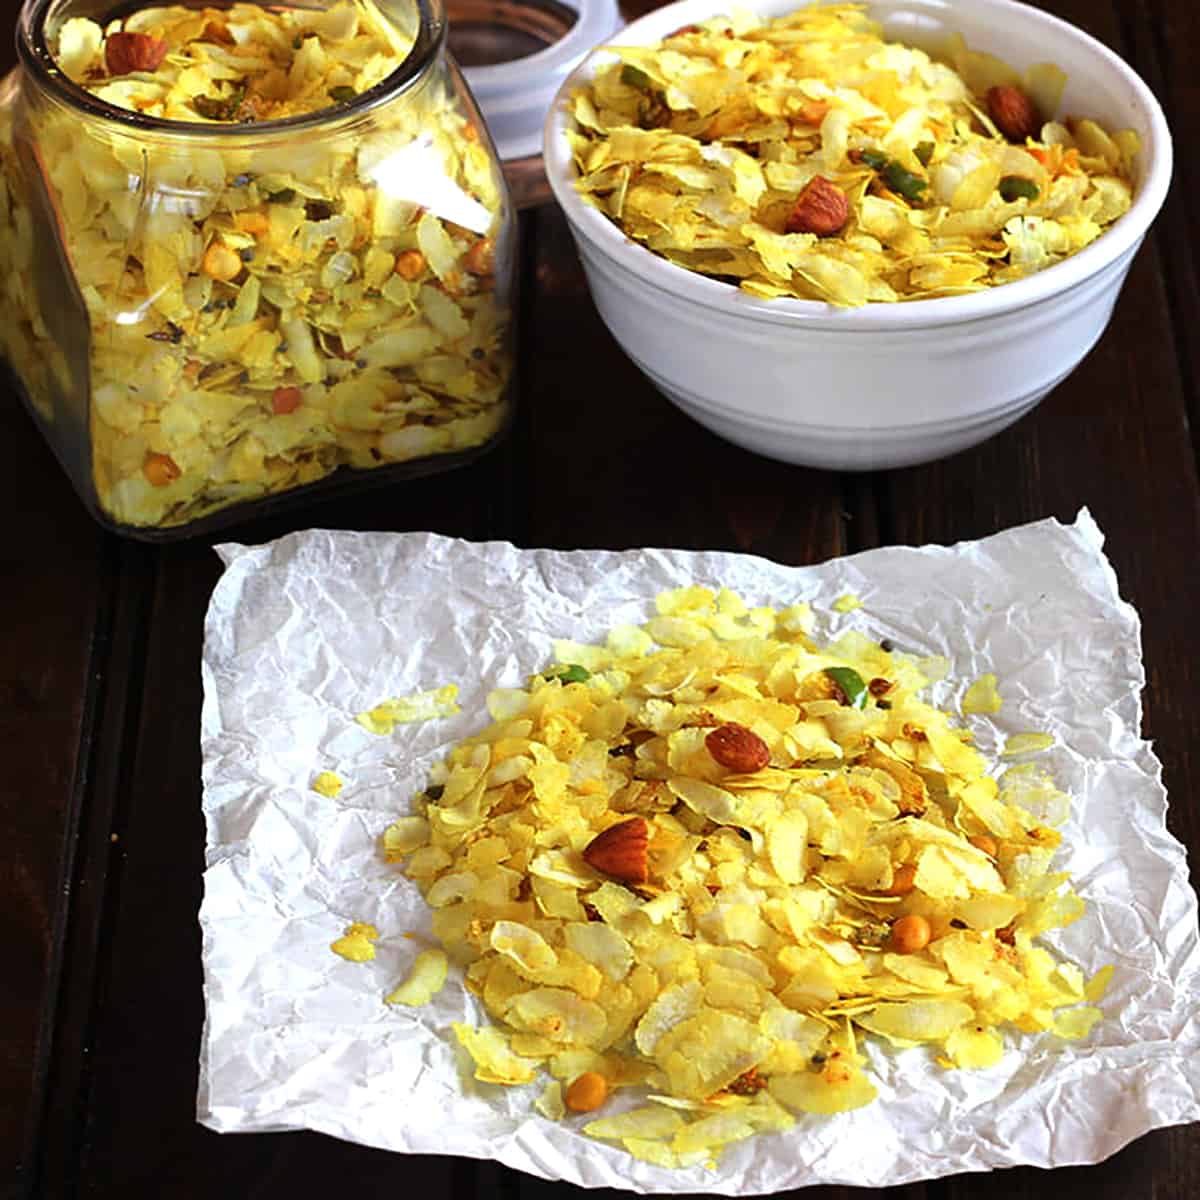
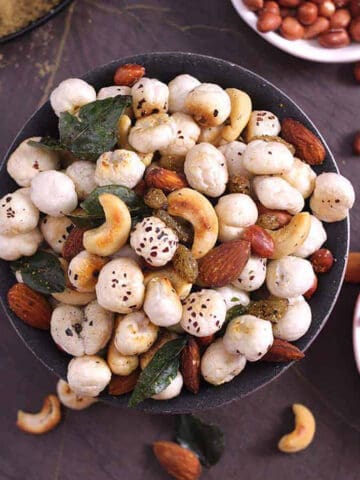
Poha Chivda is a quick and easy-to-make, crispy, and addictive Indian snack or namkeen packed with sweet, spicy, and salty flavors prepared in less than 20 minutes. These savory rice flakes are a great substitute for chips.
While you are here, also check out some of the best evening snacks and traditional Diwali party snacks.
Recipe card

Poha Chivda | Diwali Namkeen | Quick Indian Snack
Equipment
Ingredients
Use nuts and spices of your choice while making chivda snack
- 2 cups Thin poha Flattened rice or Beaten Rice Flakes
- 1 tablespoon Coconut oil or Vegetable oil
- 1 teaspoon Mustard seeds
- 1 Green chile finely chopped
- 1 teaspoon Ginger grated optional
- 2 Garlic cloves crushed, optional
- 8 to 10 Curry leaves
- 1 tablespoon Chana dal
- 3 to 4 tablespoon Peanuts Almonds, Cashew chopped (you can use 1 tablespoon each of almonds, cashews, peanuts, or any one of your choice)
- 1 tablespoon Raisins optional
- 1 tablespoon Coconut slices optional
- 1 teaspoon Cumin seeds jeera optional
- ¼ teaspoon Asafoetida / Hing
- ½ teaspoon Turmeric powder
- ¼ teaspoon Red chile powder
- Salt to taste
- 2 teaspoon Sugar
Instructions
Dry roast the poha
- Heat a non-stick pan on medium heat. Once the pan is hot, switch the flame to low.
- To this, add poha and dry roast for 2 to 3 minutes till the poha becomes crispy and crunchy.2 cups Thin poha
- Transfer the roasted poha to a plate.
Roast all the nuts and spices
- In the same pan, add coconut oil. Once the oil is hot, add mustard seeds.1 tbsp Coconut oil or Vegetable oil
- When the mustard seeds start to splutter, add green chile, ginger, garlic, and curry leaves and saute until they turn crisp.1 tsp Mustard seeds, 1 Green chile, 1 tsp Ginger grated, 2 Garlic cloves, 8 to 10 Curry leaves
- Next, add chana dal, almonds (cashews/peanuts), raisins, dry coconut slices, and cumin seeds and saute till they become light golden in color and crispy. Make sure the flame is low.1 tbsp Chana dal, 3 to 4 tbsp Peanuts, 1 tbsp Raisins, 1 tbsp Coconut slices, 1 tsp Cumin seeds
- Now add hing/asafoetida, turmeric powder, red chile powder, salt, and sugar and saute for 30 seconds.¼ tsp Asafoetida / Hing, ½ tsp Turmeric powder, ¼ tsp Red chile powder, Salt, 2 tsp Sugar
- To this, add the roasted poha and toss lightly till everything is well incorporated and saute for 2 to 3 minutes.
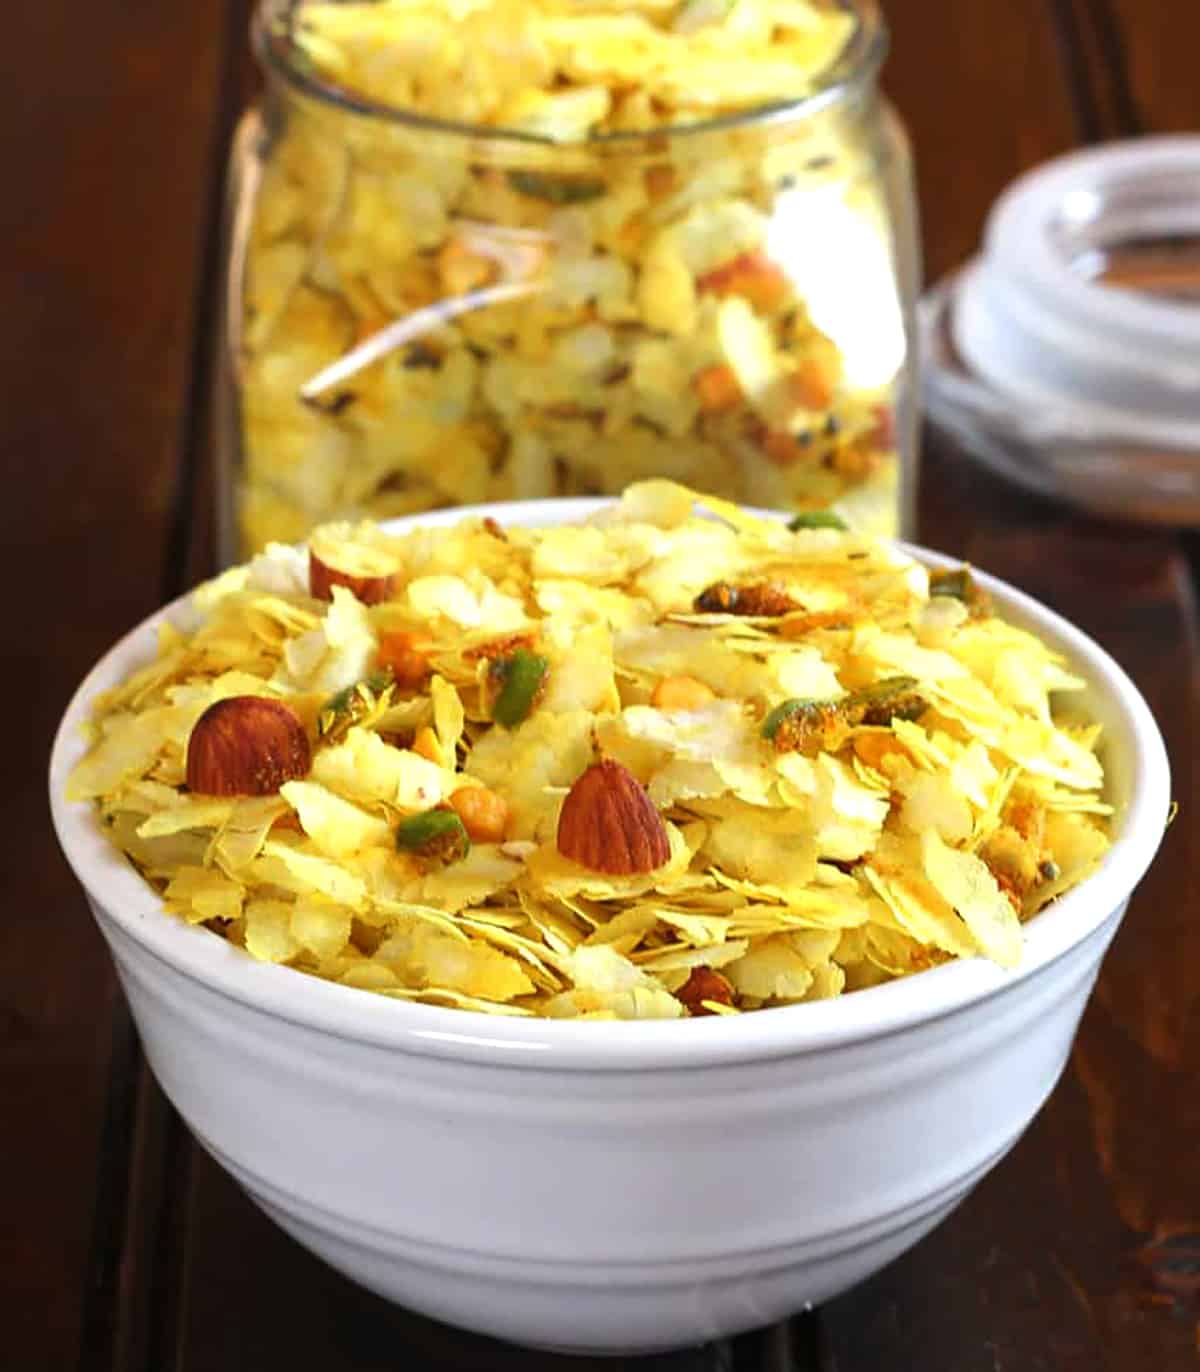
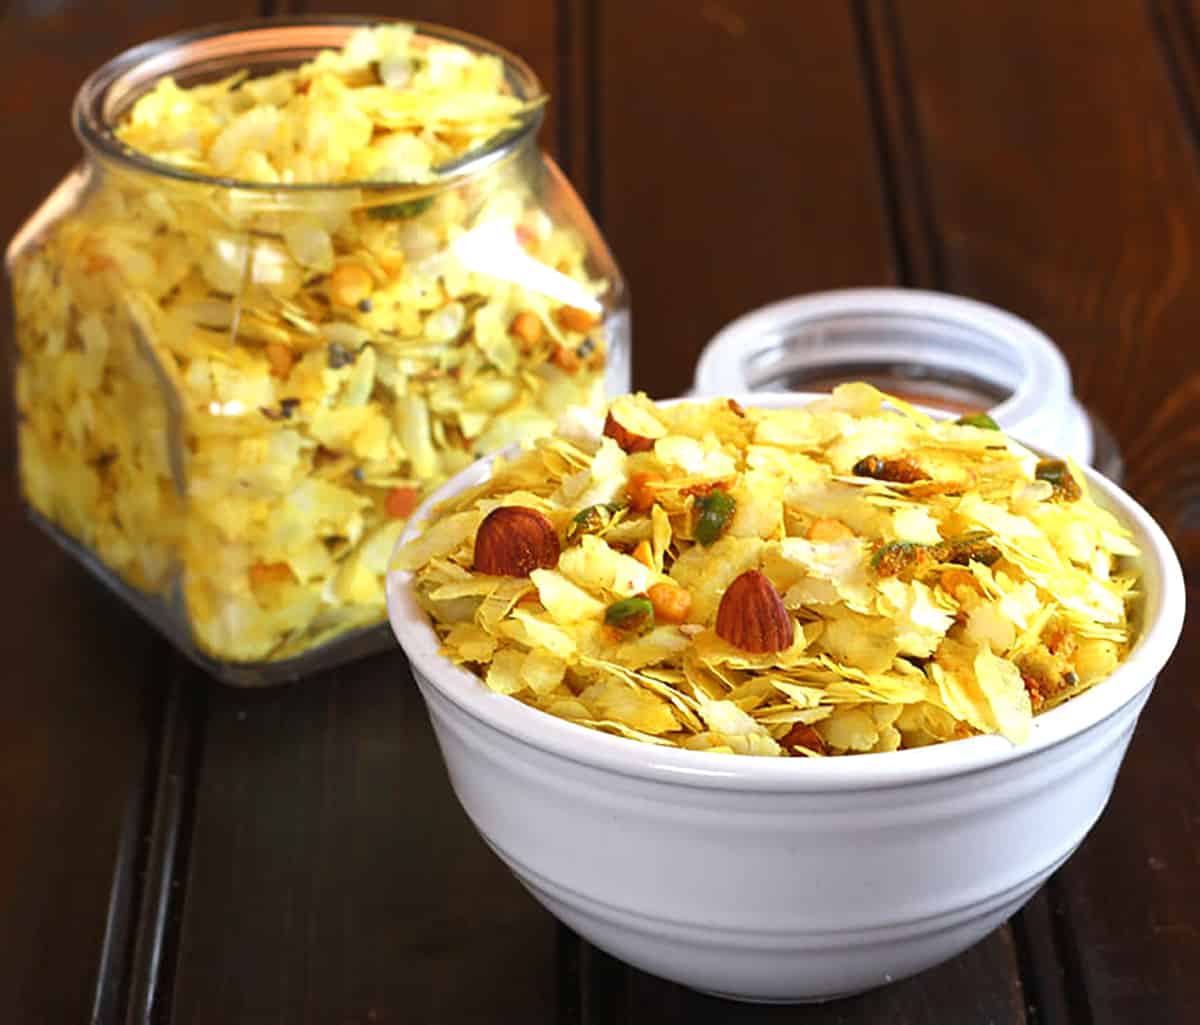
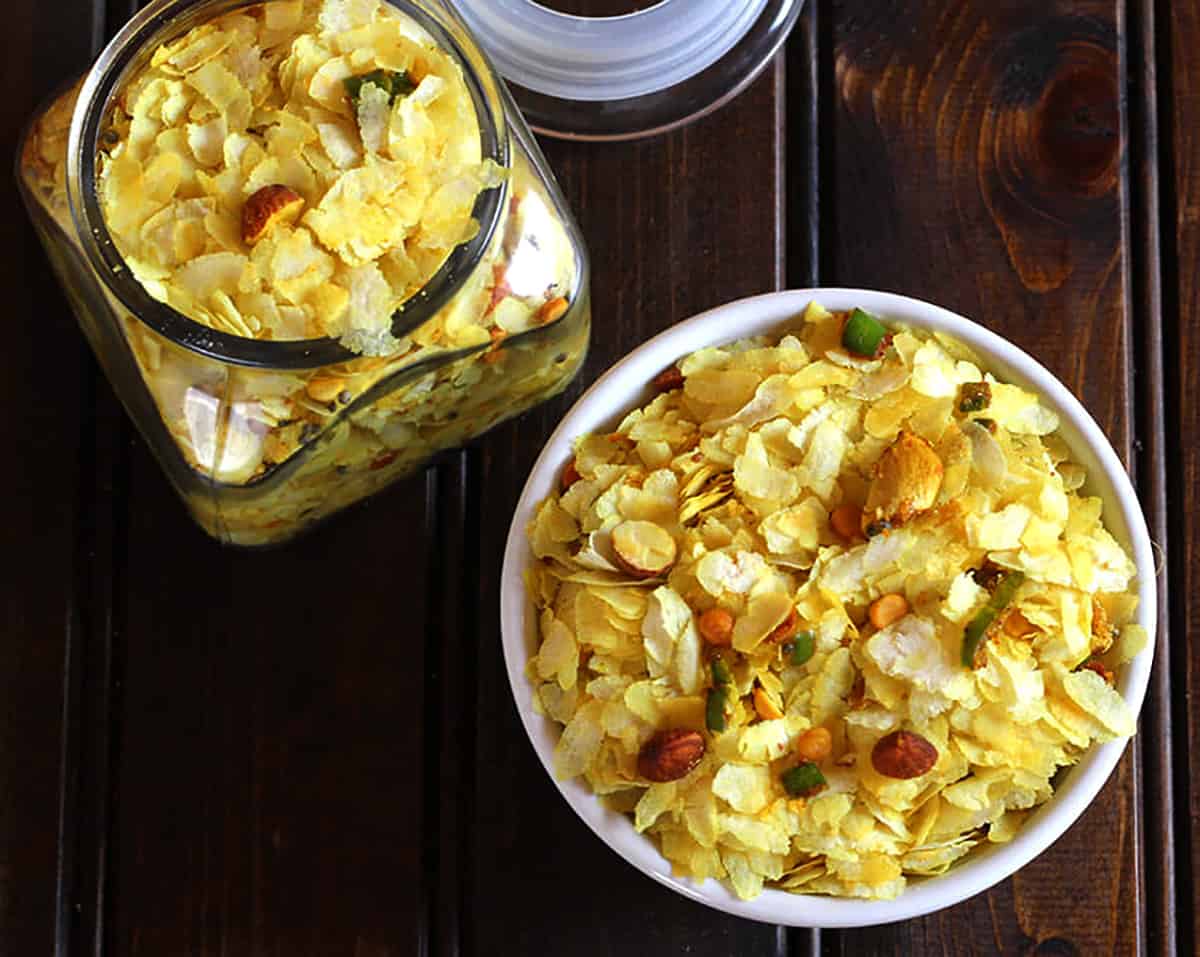
- Let the chivda cool down completely. Store this in an airtight container.
- Serve it as an evening snack with a cup of coffee or tea or as a Diwali namkeen.
Notes
- Use a non-stick pan or thick bottom pan to prepare this recipe.
- Use thin poha to make chivda.
- Most of the ingredients here are optional. Add only those available in your pantry and what your family loves.
- When dry roasting the poha, do not overcrowd the pan at once. You may not get the crunchier texture. See that the poha can be spread evenly. If not, roast them in batches.
- Make sure the flame is on low. Otherwise, the poha and nuts will get burnt.
- Toss or mix gently once you add the poha, or else it might break.
- The ingredient list may look lengthy. I have listed all the ingredients that are traditionally added to make namkeen during festivals. For a quick snack, you can simply make this with minimal nuts and spices.
- You can even roast the poha in the microwave or sun-dry the poha.
- Instead of poha, you can even use murmura, oats, or cornflakes to make the corn chivda.
- If you are a beginner and worry that spices or nuts will get burnt, then you can roast each nut separately first, transfer them to the plate, make the tempering, add spices, and then combine everything together.
Nutrition
Why you'll love this recipe?
- Chivda (chivra or chevda or chuda) is a popular Indian snack prepared using poha, also known as rice flakes. This is vegan and gluten-free and just needs less than 20 minutes of your time to prepare.
- It is a very flexible recipe where you can add spices and nuts of your choice. You have a blend of textures and flavors.
- You can serve this as a tea time snack, mid-day snack, Diwali party snack, or even munch when you travel.
- Making chivda at home is not only easy but will be tastier with all the ingredients that you love.
Ingredients
Poha: Use thin poha while making chivda for best results. It is also available as rice flakes, flattened rice, or beaten rice in any Indian store.
Nuts and seeds: Chana dal, almonds, cashews, peanuts, raisins, sunflower seeds, pumpkin seeds, you can add anything available in your pantry.
Subscribe Below to Receive Free Meal Plans Every Week
Sign up for our newsletter to receive our weekly meal plans directly in your inbox!
Spices: turmeric powder, hing, salt, sugar, and cumin seeds are added.
Other ingredients: coconut slices, green chilies, ginger, garlic, and curry leaves are optional, but adding them will only enhance the taste of your snack.
See the recipe card below for a full list of ingredients and measurements.
Making of the best poha chivda namkeen
Dry roast the poha
- Heat a non-stick pan on medium heat. Once the pan is hot, switch the flame to low.
- To this, add poha and dry roast for 3 to 4minutes till the poha becomes crispy and crunchy.
- Transfer the roasted poha to a plate.
Roast all the nuts and spices
- In the same pan, add coconut oil. Once the oil is hot, add mustard seeds.
- When the mustard seeds start to splutter, add green chile, ginger, garlic, and curry leaves and saute until they turn crisp.
- Next, add chana dal, almonds (cashews/peanuts), raisins, dry coconut slices, and cumin seeds and saute till they become light golden in color and crispy. Make sure the flame is low.
- Now add hing/asafoetida, turmeric powder, red chile powder, salt, and sugar and saute for 30 seconds.
- To this, add the roasted poha and toss lightly till everything is well incorporated and saute for 2 to 3 minutes.
- Let the chivda cool down completely. Store this in an airtight container.
- Serve it as an evening snack with a cup of coffee or tea or as a Diwali namkeen.
Chef tips to make the crispy poha chivda
- Use a non-stick pan or thick bottom pan to prepare this recipe.
- Use thin poha to make chivda.
- Most of the ingredients here are optional. Add only those available in your pantry and what your family loves.
- When dry roasting the poha, do not overcrowd the pan at once. You may not get the crunchier texture. See that the poha can be spread evenly. If not, roast them in batches.
- Make sure the flame is on low. Otherwise, the poha and nuts will get burnt.
- Toss or mix gently once you add the poha, or else it might break.
- The ingredient list may look lengthy. I have listed all the ingredients that are traditionally added to make namkeen during festivals. For a quick snack, you can simply make this with minimal nuts and spices.
- You can even roast the poha in the microwave or sun-dry the poha.
- Instead of poha, you can even use murmura, oats, or cornflakes to make the corn chivda.
- If you are a beginner and worry that spices or nuts will get burnt, then you can roast each nut separately first, transfer them to the plate, make the tempering, add spices, and then combine everything together.
Storage and Make ahead
- Chivda is the best make-ahead Indian snack and namkeen recipe for Diwali or any special occasion.
- You can store them in an airtight container for up to 15 days. I don't think it will last that long as it is so tasty.
Recipe FAQs
Chivda or Poha means flattened rice or beaten rice flakes in English. It is called aval in Telugu, attukulu in Tamil, avalakki in Kannada and povu in Konkani.
Chivda is an Indian snack mix, also called namkeen, traditionally made with poha, nuts, and spices. It has a mixture of sweet, spicy and salty flavors.
More quick snacks at home
Did you like this recipe? Please leave a star ⭐️⭐️⭐️⭐️⭐️ rating below and/or a review in the comments section. You can also stay in touch with us through social media by following us on Pinterest, Facebook, Instagram, and Twitter.
Note: We originally posted this poha chivda recipe in April 2018. It has now been modified in Oct 2023 with Expert Chef Tips, FAQs, Storage Instructions, etc.

Comments
No Comments