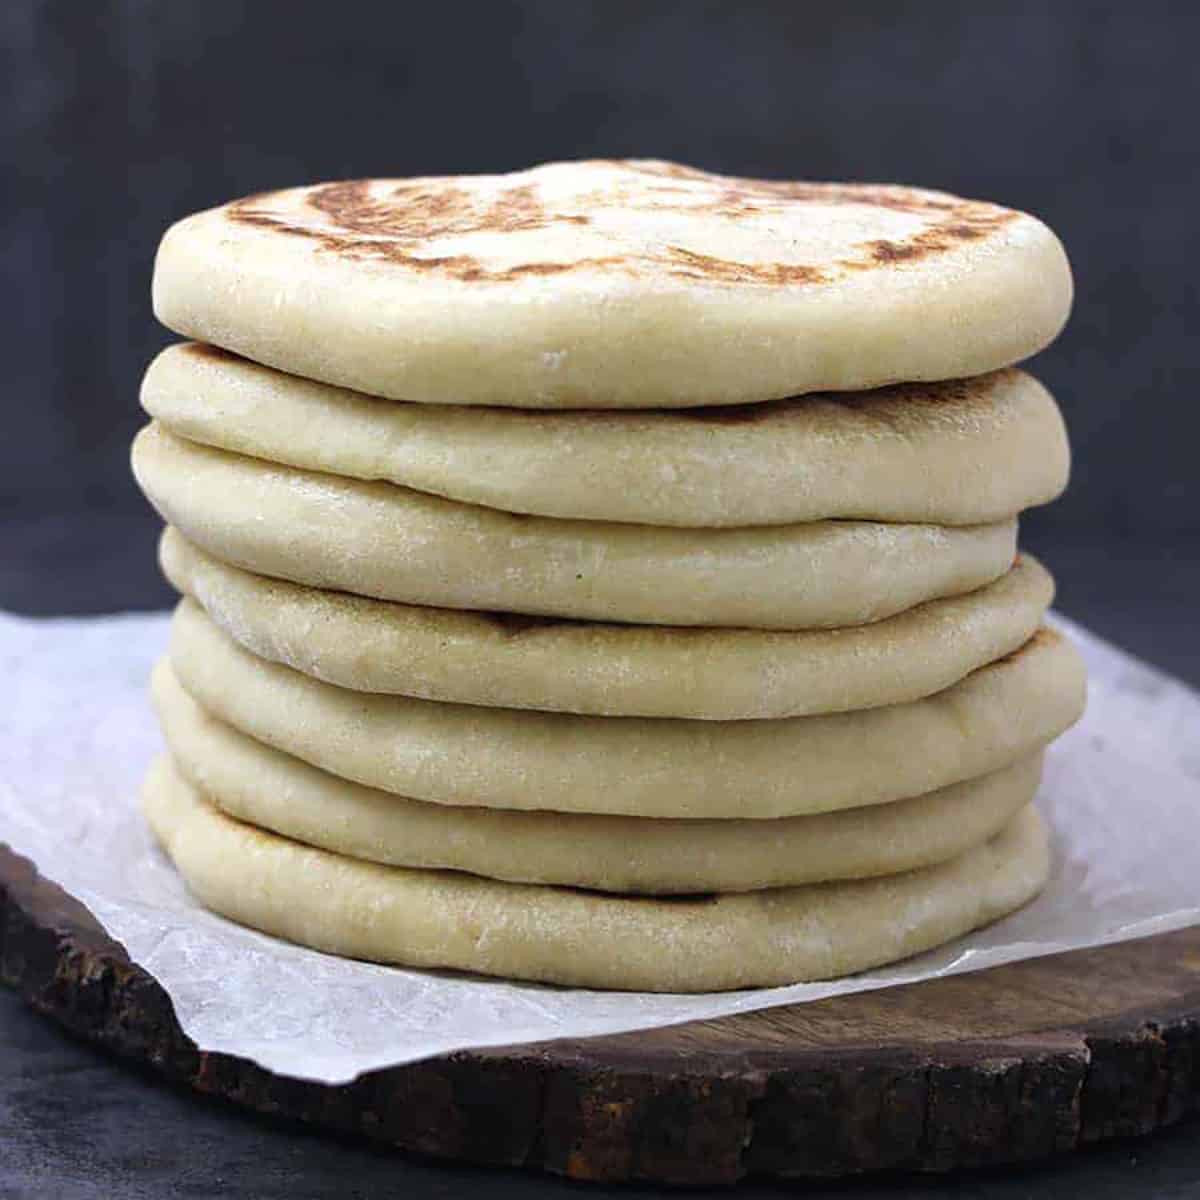
The homemade pita bread recipe is an easy-to-make, soft, and fluffy Mediterranean flatbread that is vegan and prepared using only six basic ingredients.
Jump to:
Recipe card
Homemade Pita Bread Recipe (Vegan, Easy)
Equipment
- Skillet
Ingredients
- 1 cup Warm water
- 1 teaspoon Sugar
- 2 ¼ teaspoon Active dry yeast
- 1 cup + 1 ½ cups+ ¼ cup All purpose flour divided
- 2 tablespoon + 1 ½ tsp Olive oil divided
- 1 ½ teaspoon Salt
Instructions
Making of Pita Bread Dough
- In the bowl, add warm water, sugar, active dry yeast, and 1 cup of flour and mix. Let it sit for about 15 minutes till the yeast activates. This mixture will bubble.1 cup Warm water, 1 teaspoon Sugar, 2 ¼ teaspoon Active dry yeast, 1 cup + 1 ½ cups+ ¼ cup All purpose flour
- Add 2 tablespoon of olive oil, salt, and 1 ½ cups of all-purpose flour and stir using a wooden spoon/spatula till dough is formed.2 tablespoon + 1 ½ teaspoon Olive oil, 1 ½ teaspoon Salt, 1 cup + 1 ½ cups+ ¼ cup All purpose flour
- Dust the working surface. Transfer the dough and knead it for at least 5 to 6 minutes till you get a soft, smooth, and elastic dough. You can add additional flour while kneading only if the dough sticks to your hand or working surface.
- Coat the bowl with ½ teaspoon of olive oil. Transfer the dough to this bowl and turn it around so it is coated with oil. Cover it and keep it in a warm place for about 2 hours or until it is doubled.2 tablespoon + 1 ½ teaspoon Olive oil
Roll into pita bread
- Now, transfer the dough onto the working surface and lightly pat it to a flat shape that is about 1 inch thick. Divide the dough into 8 equal pieces.
- Make each piece into a small round ball and sprinkle some flour on top of each ball. Cover this with plastic wrap or a kitchen towel and let it rest for about 30 minutes.
- Dust the working surface. Pat the dough balls flat with your fingers, and roll them to round bread about a quarter-inch thick using a rolling pin. Let each of these round breads rest for about 5 minutes even before cooking it.
Stovetop Pita Bread or Pan Pita
- Brush the cast-iron skillet with 1 teaspoon olive oil and place it over medium-high heat.2 tablespoon + 1 ½ teaspoon Olive oil
- Lay the pita bread and cook till the bottom has some light brown spots for about 2 minutes. Then, flip and cook for about 2 minutes on the other side, and then flip and cook on the original side for 30 seconds. Pita bread will puff up at this point.
- Transfer the cooked pitas to a towel while you cook the remaining pita bread.
- Serve and enjoy.
Notes
How do you get proper pita pockets or pita to puff?
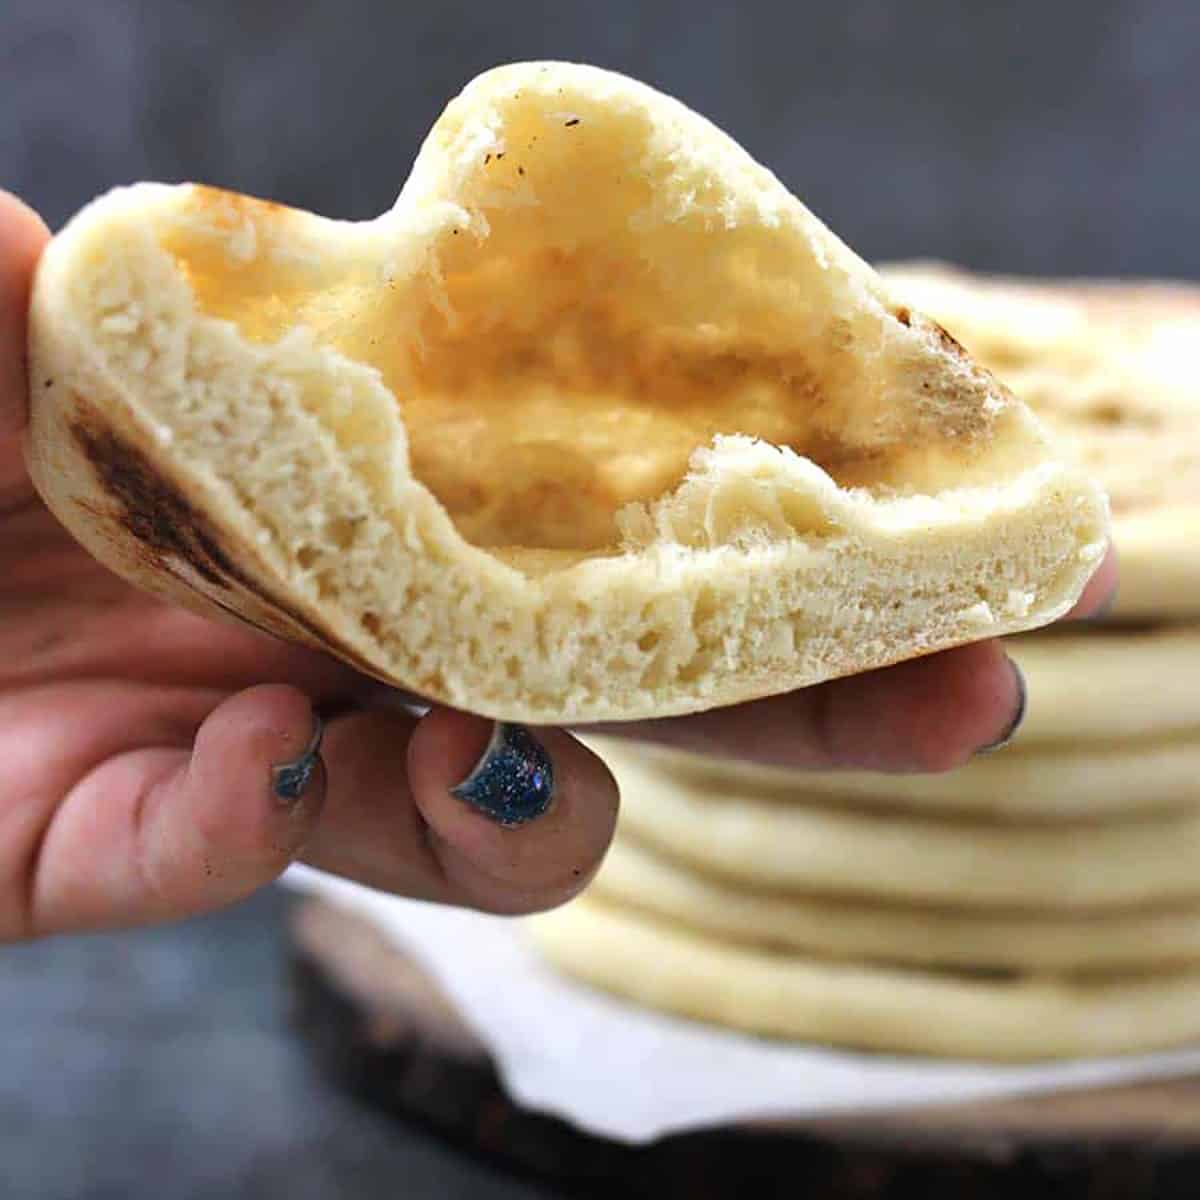
- If you cook the pitas in the oven, turn it to the highest setting possible and preheat the oven with baking stone or steel. This is done so that the heat is retained and gets that burst of steam inside. This helps the bread to puff up during the baking process. As the bread cools, it flattens, but a pocket will be left in the middle.
- You will have to follow a similar method on the stovetop, too. The cast-iron skillet should be hot enough, or else the bread won't puff up. So make sure you preheat the skillet before cooking the bread.
Store, Reheat, and Make ahead
Make ahead pita: Once the dough is prepared, place it in a bowl, cover it with plastic wrap, and refrigerate it overnight. This allows the bread to leaven slowly. If you are still not ready to use by then, punch the dough, tightly wrap the dough in plastic, and refrigerate it for 2 to 5 days. Store: Leftover pita bread can be stored in plastic wrap or an airtight container at room temperature for up to 2 days. I would not recommend refrigerating it as this is going to make your bread drier. You can freeze it for longer storage and use it for up to 2 months. Reheat: Preheat the oven to 400 degrees F. Place the pitas on a baking tray and heat it for 3 to 5 minutes or till it is heated through. You can also reheat in a microwave for 30 seconds to 1 minute each or on a cast iron skillet or tava for a minute on each side till it's heated through.Nutrition
Best pita bread recipe
- Homemade pita breads are always tastier, fresh, and flavorful than store-bought. And believe me, you will love making them again and again. The way the pitas puff up in your oven, or stovetop is the best magic with this bread and makes you feel proud about your culinary skills.
- I also love that they are easy to eat, portable, and one of the best bread choices for making sandwiches. !!
- Since these are easy to eat and transport, they are also perfect for upcoming tailgating events, game nights, potluck, Easter, Thanksgiving, and Christmas holiday parties! A perfect recipe for any time of the year!
Naan vs. Pita bread
Both are flatbreads made with yeast dough. Naan is softer and enriched with yogurt, milk, and/or sour cream. Pita is made with lean dough (flour, yeast, salt, olive oil). Naan is Indian, and Pita is Mediterranean.
Pita bread in the oven or stovetop or grill?
- Pita puffs up a little extra and makes softer pockets when cooked in the oven. If you are cooking for a larger crowd, an oven is better as you can cook multiple pieces of bread at a time.
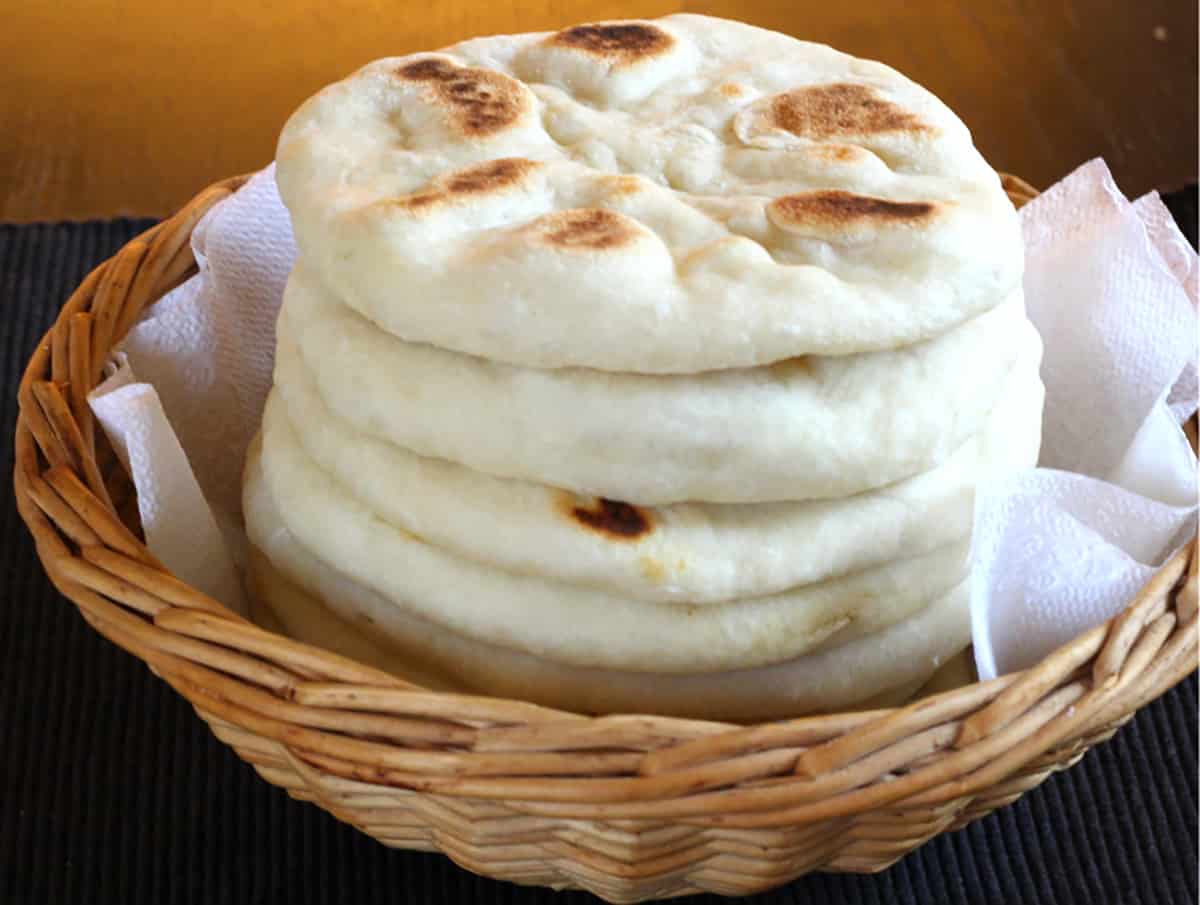
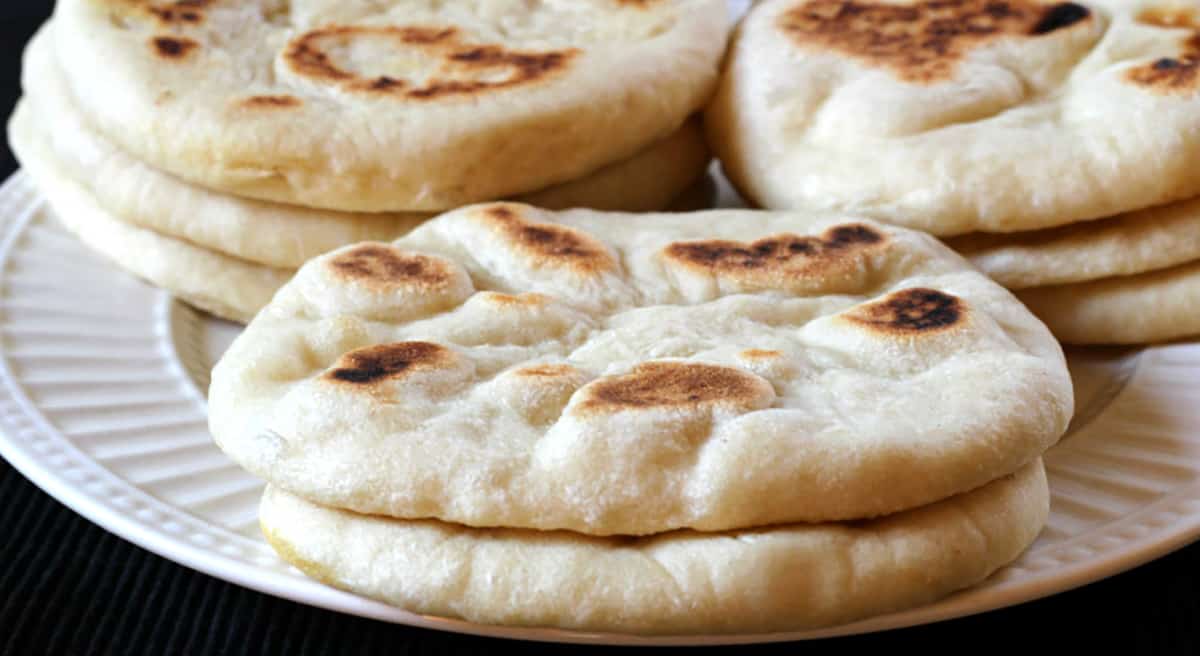
- When cooked on the stovetop, you get to see those additional crispy spots on the surface of the bread, and pitas remain soft and chewy inside.
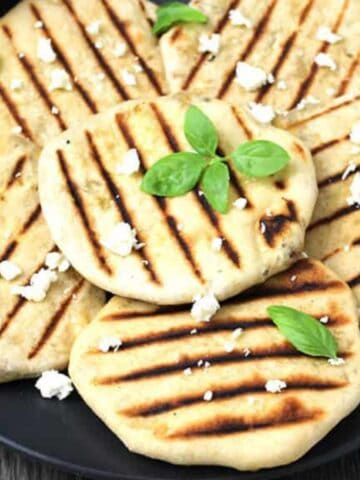
- If you like a nice smoky flavor to the bread, grill it. The best recipe to try during summer.
- With all that, I like the stovetop version more. For me, the additional crunchiness on top is a plus!!!!
Ingredients
Flour: I have used all-purpose flour. You can use wheat flour or 1:1.
Yeast: Helps the bread rise and make it fluffy.
Salt and sugar: to taste
Olive oil: Gives unique flavor and crumb texture.
Step-by-step instructions
Making of pita bread dough
- In the bowl, add warm water, sugar, active dry yeast, and 1 cup of flour and mix. Let it sit for about 15 minutes till the yeast activates. This mixture will bubble.
- Add 2 tablespoon of olive oil, salt, and 1 ½ cups of all-purpose flour and stir using a wooden spoon/spatula till dough is formed.
- Dust the working surface. Transfer the dough and knead it for at least 5 to 6 minutes till you get a soft, smooth, and elastic dough. You can add additional flour while kneading only if the dough sticks to your hand or working surface.
- Coat the bowl with ½ teaspoon of olive oil. Transfer the dough to this bowl and turn it around so it is coated with oil. Cover it and keep it in a warm place for about 2 hours or until it is doubled.
Roll into pita bread
- Now, transfer the dough onto the working surface and lightly pat it to a flat shape that is about 1 inch thick. Divide the dough into 8 equal pieces.
- Make each piece into a small round ball and sprinkle some flour on top of each ball. Cover this with plastic wrap or a kitchen towel and let it rest for about 30 minutes.
- Dust the working surface. Pat the dough balls flat with your fingers, and roll them to round bread about a quarter-inch thick using a rolling pin. Let each of these round breads rest for about 5 minutes even before cooking it.
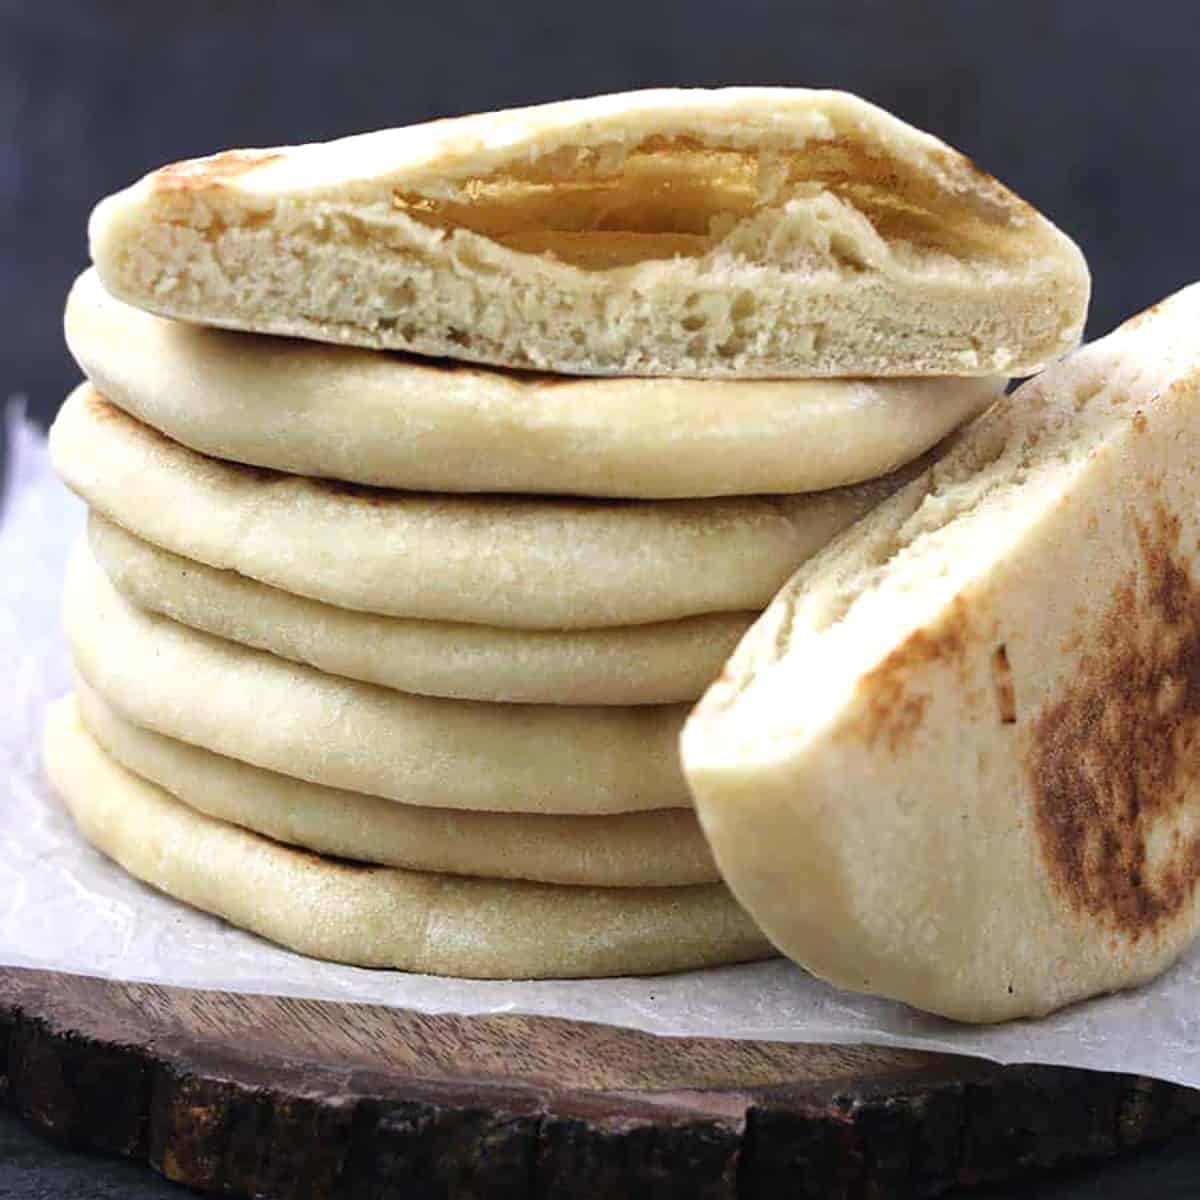
Stovetop pita bread or pan pita
- Brush the cast-iron skillet with 1 teaspoon olive oil and place it over medium-high heat.
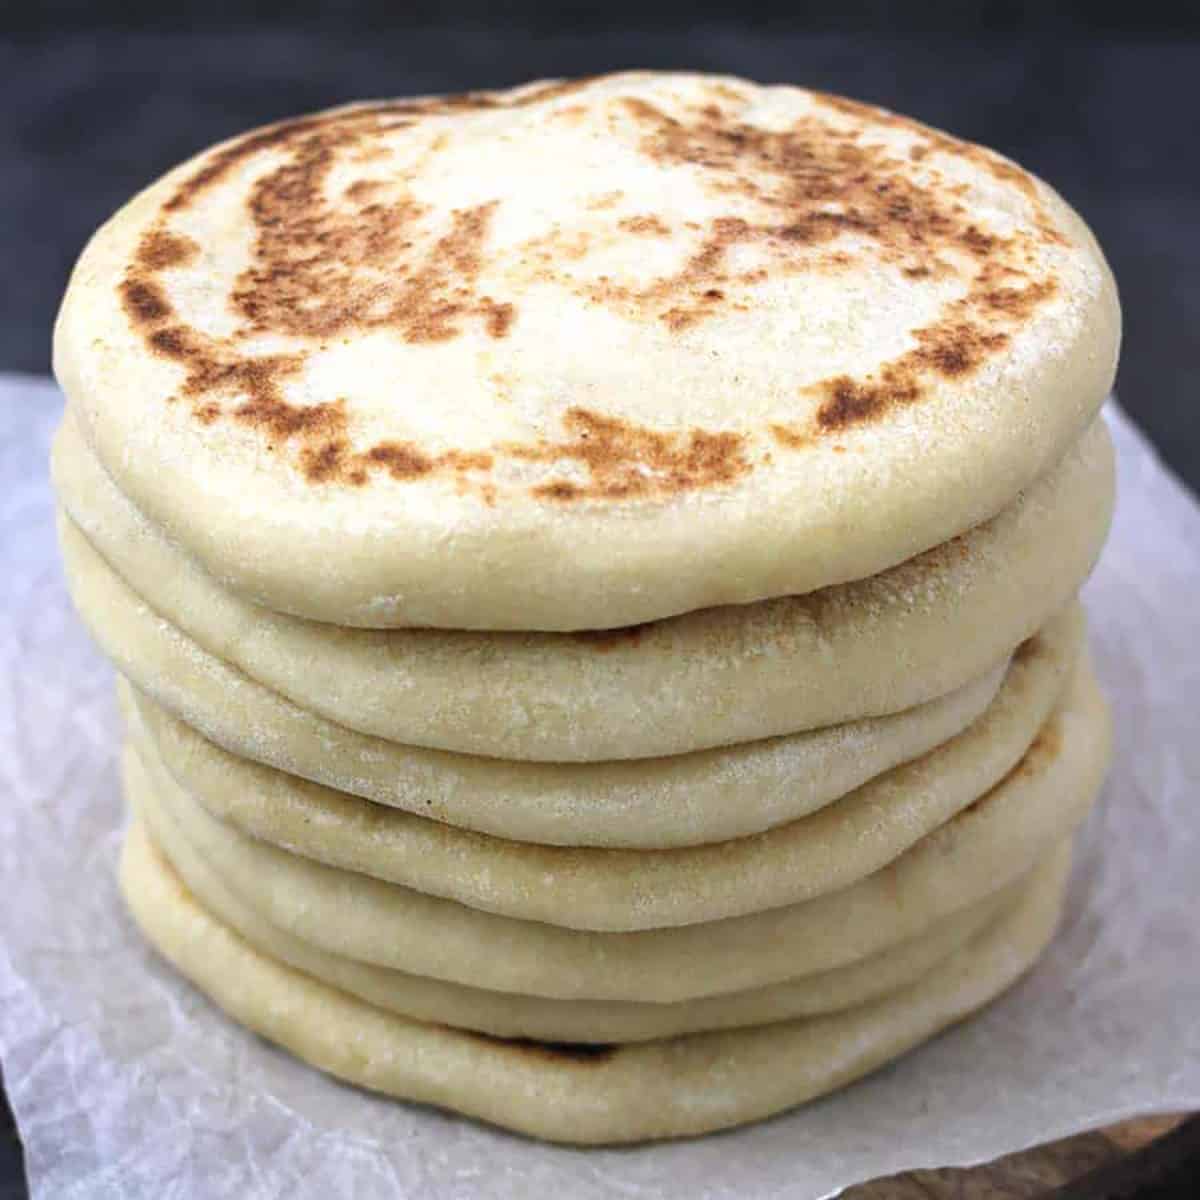
- Lay the pita bread and cook till the bottom has some light brown spots for about 2 minutes. Then, flip and cook for about 2 minutes on the other side, and then flip and cook on the original side for 30 seconds. Pita bread will puff up at this point.
- Transfer the cooked pitas to a towel while you cook the remaining pita bread.
- Serve and enjoy.
How do you get proper pita pockets or pita to puff?
- If you cook the pitas in the oven, turn it to the highest setting possible and preheat the oven with baking stone or steel. This is done so that the heat is retained and gets that burst of steam inside. This helps the bread to puff up during the baking process. As the bread cools, it flattens, but a pocket will be left in the middle.
- You will have to follow a similar method on the stovetop, too. The cast-iron skillet should be hot enough, or else the bread won't puff up. So make sure you preheat the skillet before cooking the bread.
Store, Reheat, and Make ahead
Make ahead pita: Once the dough is prepared, place it in a bowl, cover it with plastic wrap, and refrigerate it overnight. This allows the bread to leaven slowly. If you are still not ready to use by then, punch the dough, tightly wrap the dough in plastic, and refrigerate it for 2 to 5 days.
Store: Leftover pita bread can be stored in plastic wrap or an airtight container at room temperature for up to 2 days. I would not recommend refrigerating it as this is going to make your bread drier. You can freeze it for longer storage and use it for up to 2 months.
Reheat: Preheat the oven to 400 degrees F. Place the pitas on a baking tray and heat it for 3 to 5 minutes or till it is heated through. You can also reheat in a microwave for 30 seconds to 1 minute each or on a cast iron skillet or tava for a minute on each side till it's heated through.
Recipe FAQs
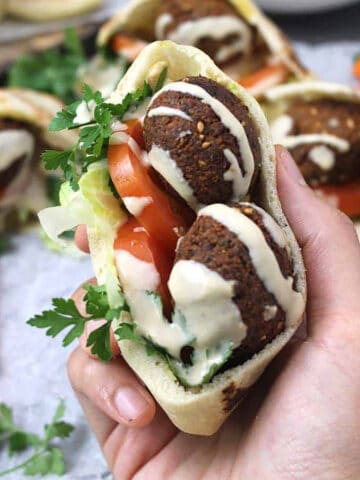
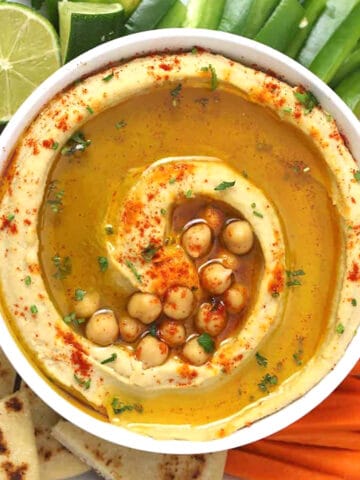
Pita bread is mainly used to scoop in some dips like tzatziki sauce, hummus, and chutneys or to wrap gyros, kebabs, falafel, and tikkas (grilled meat, paneer, tofu) in the form of sandwich or with Mediterranean salads. Any leftover pita can be cut into triangles and baked into crispy chips.
Yes, for the healthier version, you are free to substitute refined flour with whole wheat flour, or you can even use a 1:1 ratio. The taste, color, and texture will be completely different.
No. Pita bread is made using wheat flour or all-purpose flour, which contains gluten and is thus not gluten-free.
Yes. This is a vegan version of pita bread prepared using all dairy-free ingredients.
Even though pita bread is a vegan flatbread, it is made using a leaving agent and is not unleavened bread.
More flatbread recipes
Did you like this recipe? Please leave a star ⭐️⭐️⭐️⭐️⭐️ rating below and/or a review in the comments section. You can also stay in touch with us through social media by following us on Pinterest, Facebook, Instagram, and Twitter.
Note: We originally posted this vegan best pita bread recipe in April 2020. It has now been modified in Jan 2024 with Expert Chef Tips, FAQs, Storage Instructions, etc. This recipe is inspired by my favorite chef John from foodwishes.

Laurie Griggs
Gotta try this. Looks so good!